
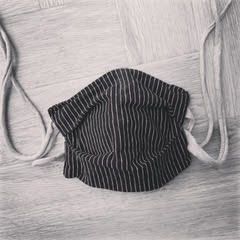
A super easy guide to creating your own face masks from an old t-shirt, courtesy of Emma Wilkinson from Heron Designs & UK Art Club.
This mask is washable and therefore reusable, and using T-shirt fabric is means it is stretchy and soft. Also, the ties are far more comfortable than string or elastic.
There are two size options: LARGE - adult (20 x 38cm) and MEDIUM - teen/child (18 x 34cm). NB masks are not recommended for very young/small children.
- An old T-Shirt
- Fabric scissors
- Paper/parchment paper
- Pencil
- Tape measure/ruler
- Pins
- Sewing needle and thread/sewing machine
- An iron
- A pack of disposable filter inserts (optional)
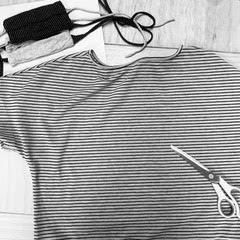
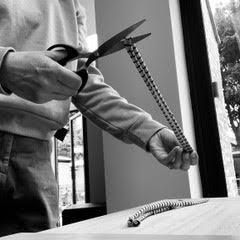
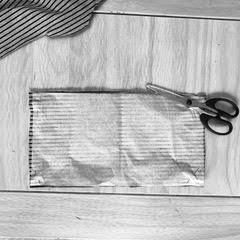
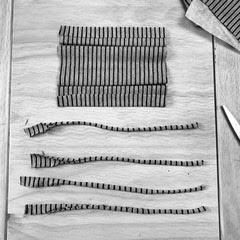
Cut along the hem of your T-shirt to provide you with a loop of fabric that you can stretch to make thinner. Then cut the hem into 4 equal lengths. These will become the ties for your mask. Put them aside for later.
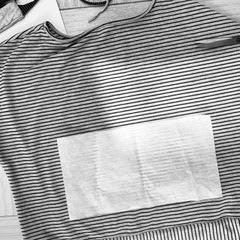
Next, place your T-shirt on a flat surface, measure out a rectangle (see above for preferred size). You can always create a template using paper/parchment paper that you can pin onto the T-shirt and cut around. Keep the rest of the T-shirt for other masks/projects.
Lay the rectangle of fabric you have just cut out on a flat surface, then fold in half with the fabric pattern on the inside (right sides facing).
Iron the fold, so that there will be a crease when we come to unfold it again. Then fold back (about 1.5cm) the top two edges to make hems. Iron these to keep them in place.
Unfold the fabric. The two hems should be tucked under and the pattern now facing out. You should now be able to see the crease in the middle of the rectangle.
Now for more folding - I recommend that you iron each fold so you have a crease that will be your construction guide.
Fold the outer edges/hems to the middle line. Both edges should meet in the middle. Iron the folds. Now fold the outer edges in again to the middle line, and iron. Carefully unfold the fabric (keeping the hems tucked under).
You should find that you have made 7 creased lines across the fabric (the original middle crease and 3 other lines either side).
Label the creases 0-1-2-3 from the middle to the top/bottom - each side, with the middle line being ‘0’.
Starting with one side you will now need to fold line 3 to line 2 and line 1 to 2. Now both 1 and 3 should meet on line 2. Iron this flat, and repeat on the other half.
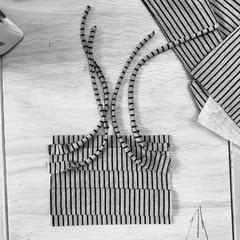
You will now need those 4 x ties that you created from the stretched T-shirt hem. Place an end of each string to the edge of the top half of your folded fabric. Make sure they face in towards the middle and fold up to the top.
Carefully, fold the bottom half of the folded fabric on top of the other. Pin the two sides together, sandwiching the ties between each side. Leave the top of the mask open, with the ties hanging out from the top.
Now sew the two sides, about 0.5cm from the edges. Remove the pins and turn the mask inside out.
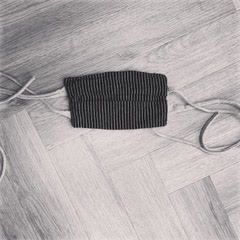
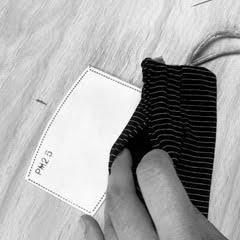
The fabric pattern should now be the right side out, with two ties on either side. Leave the top open to be able to insert a filter.
I sew about an inch in on the top from each side to make sure that the filter stays in place but with an opening to remove the filter and replace when needed.
A huge thank you to Emma from all of us at Away with the Kids. You can find out more about her brilliant work at Heron Designs & UK Art Club.